Vercel
我们推荐将你的应用部署到 Vercel↗。它大大简化了 Next.js 应用的部署流程。
项目配置
Vercel 很大可能会自动帮你配置好部署命令,以及构建导出目录。然而,你也可以通过创建一个 vercel.json↗ 文件,并加入下列命令。这对大部分项目来说不是必需的。
{
  "buildCommand": "npm run build",
  "outputDirectory": "dist",
  "devCommand": "npm run dev",
  "installCommand": "npm install"
}
使用 Vercel 管理面板
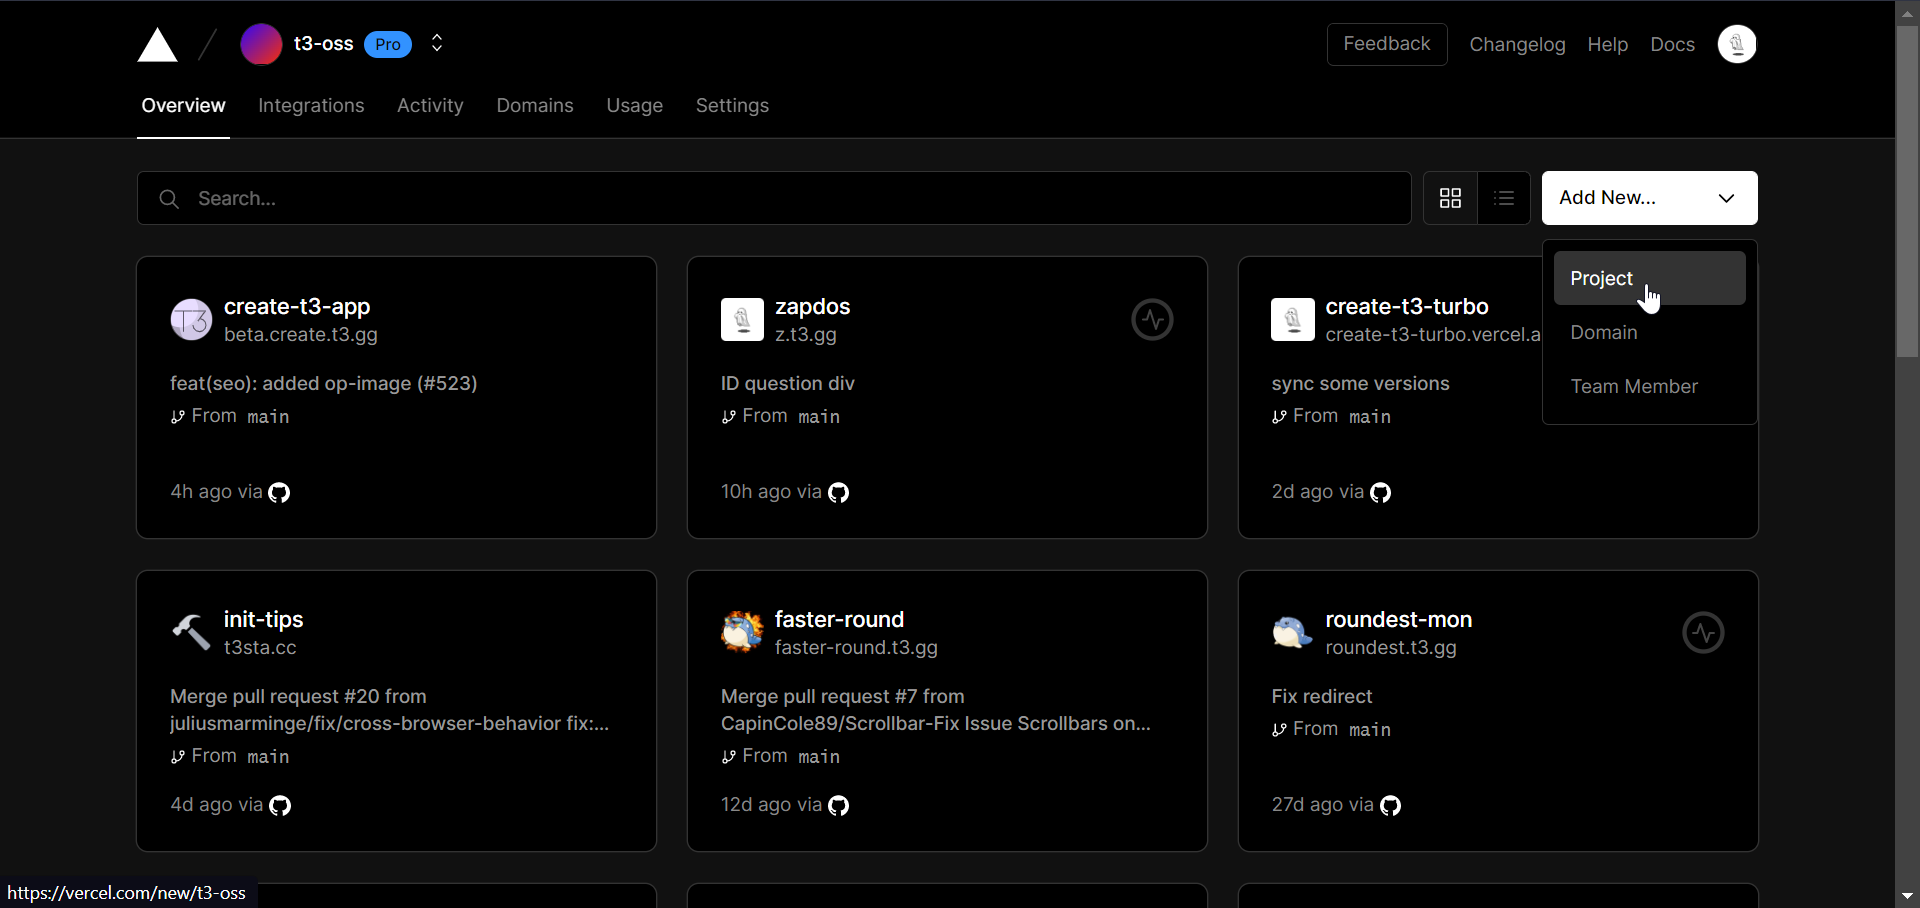
- 当你将代码成功 push 到 GitHub 仓库后,使用 GitHub 注册 Vercel↗,然后点击添加新项目。
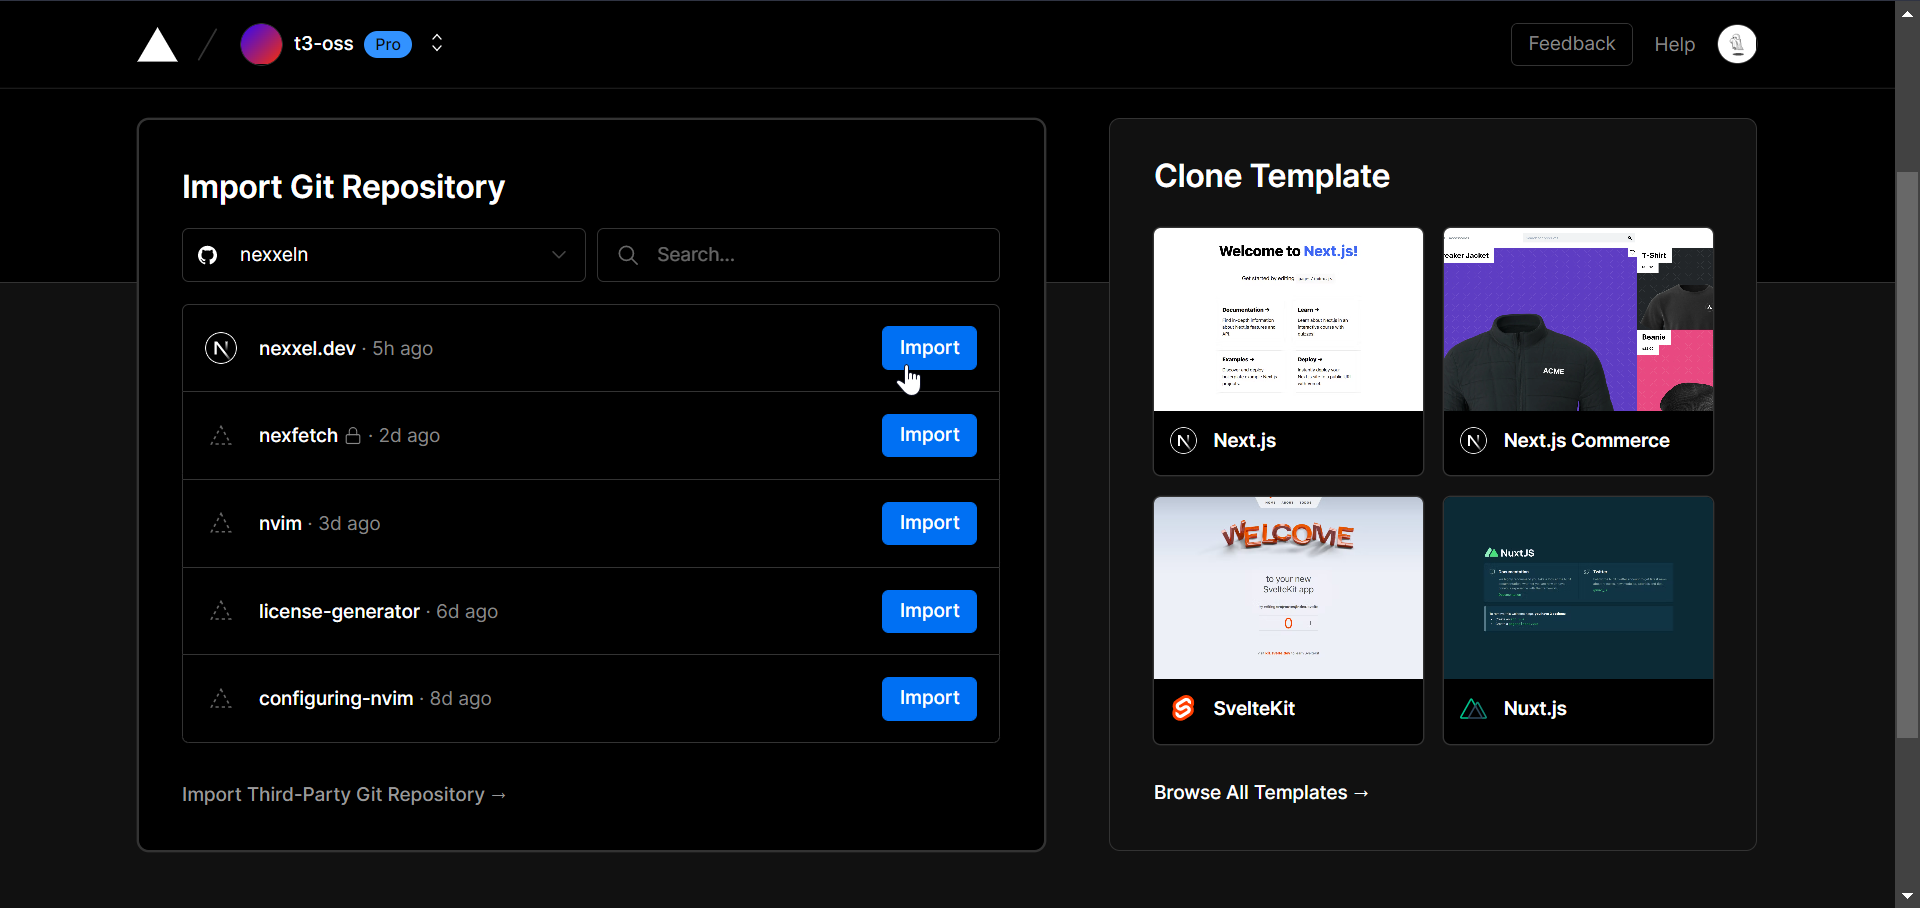
- 从 GitHub 仓库导入你的项目。
- 添加环境变量。
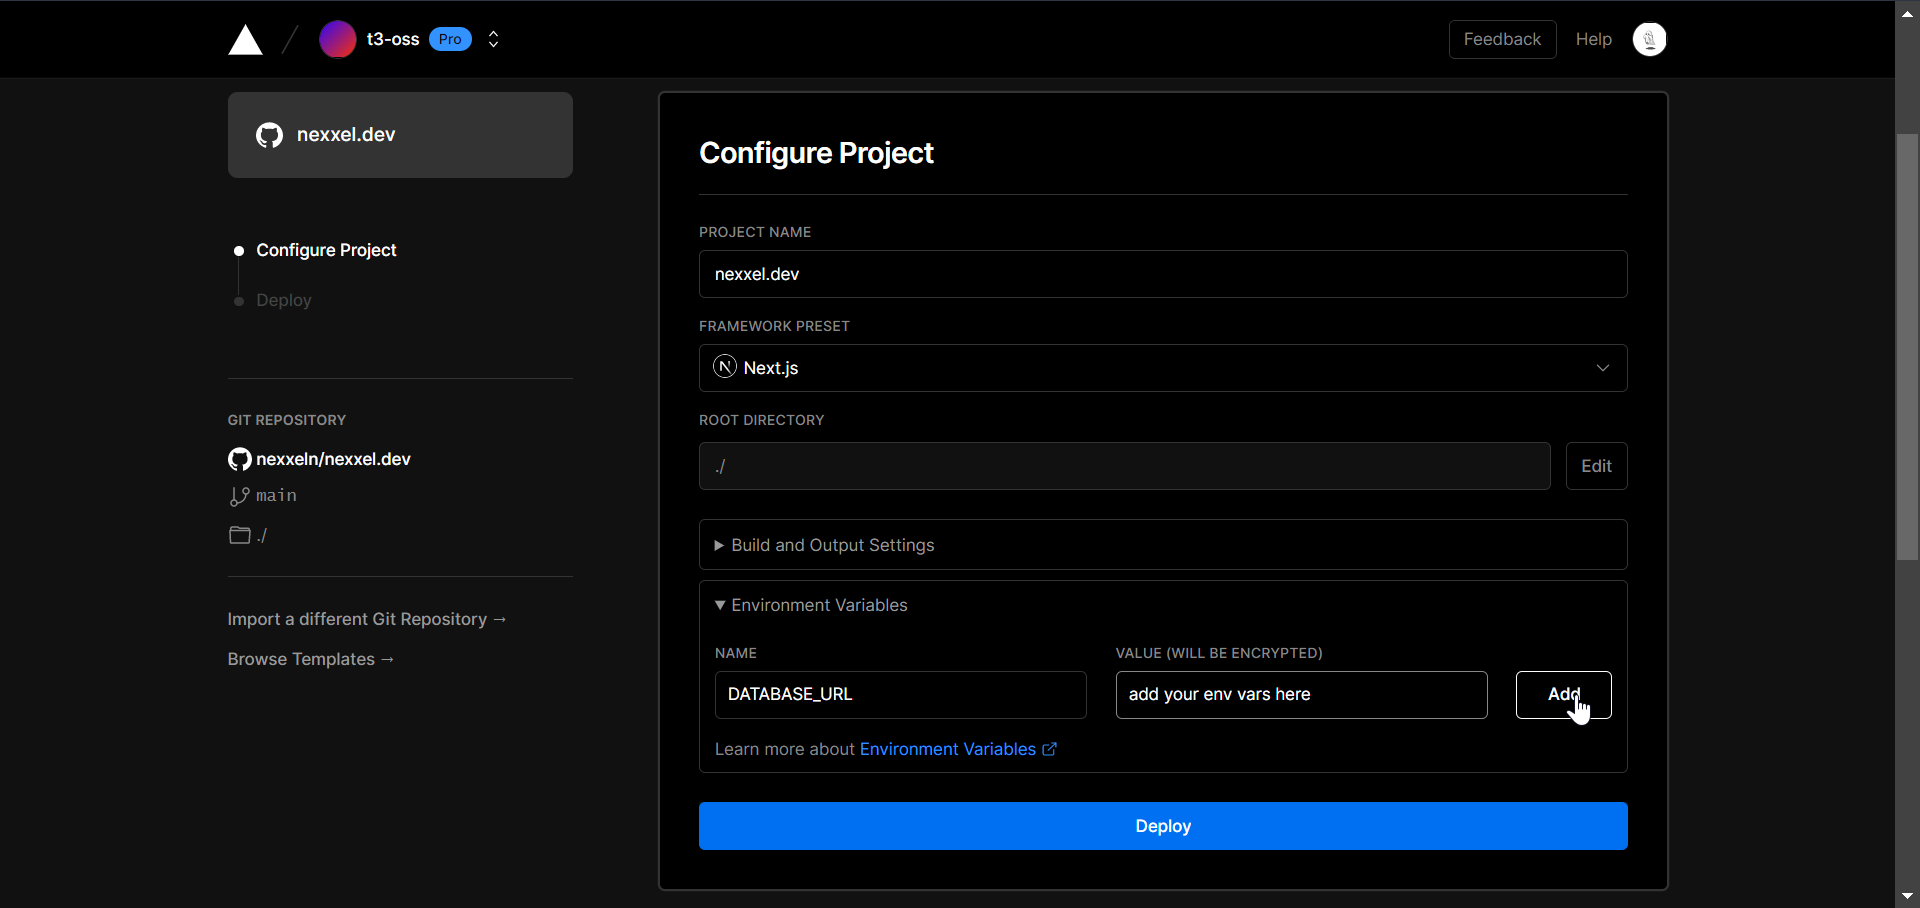
- 点击部署。现在只要当你将修改 push 到仓库后,Vercel 会自动为你重新部署应用。
使用 Vercel CLI 命令行工具
为了使用命令行工具来部署,你必须先 全局安装 Vercel 的命令行工具↗。
npm i -g vercel运行 vercel↗ 命令来部署你的项目。
vercel加入参数 --env DATABASE_URL=YOUR_DATABASE_URL_HERE 来指定环境变量的值,例如数据库连接的地址。如果你想要跳过问答,使用默认的部署配置,加入标识 --yes。
vercel --env DATABASE_URL=YOUR_DATABASE_URL_HERE --yes在第一次部署之后,这个命令会将项目部署到一个预览分支。你在之后的部署中需要加入 --prod 标识来直接将修改 push 到生产环境中。
vercel --prod