Vercel
ننصحك بنشر تطبيقك عبر Vercel↗ فهو أسهل، خاصة لتطبيقات Next.js.
إعداد المشروع
بطبيعة الأمر فإن vercel ستقوم بإعداد المشروع عنك لكن بإمكانك التعديل عليها من خلال إنشاء ملف vercel.json↗
{
  "buildCommand": "npm run build",
  "outputDirectory": "dist",
  "devCommand": "npm run dev",
  "installCommand": "npm install"
}
استخدام لوحة تحكم Vercel
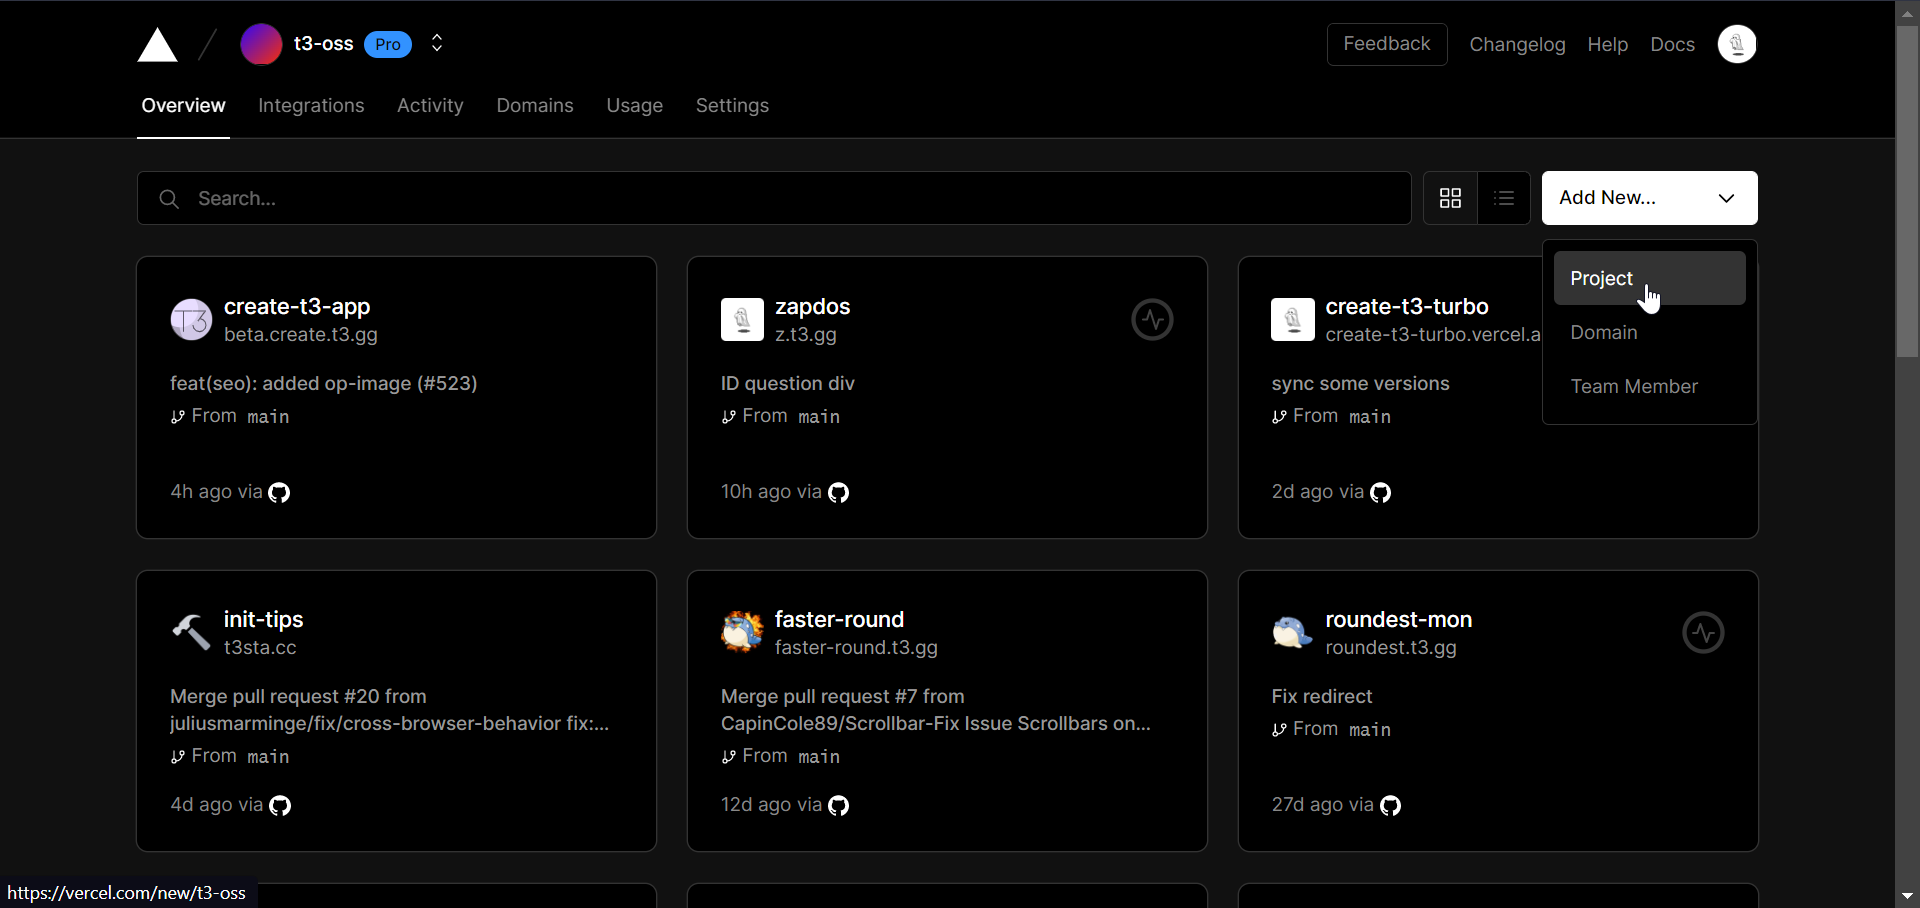
- بعد دفع مشروعك الي Github سجل الدخول إلى Vercel↗ عن طريق Github واضغط علي Add New Project
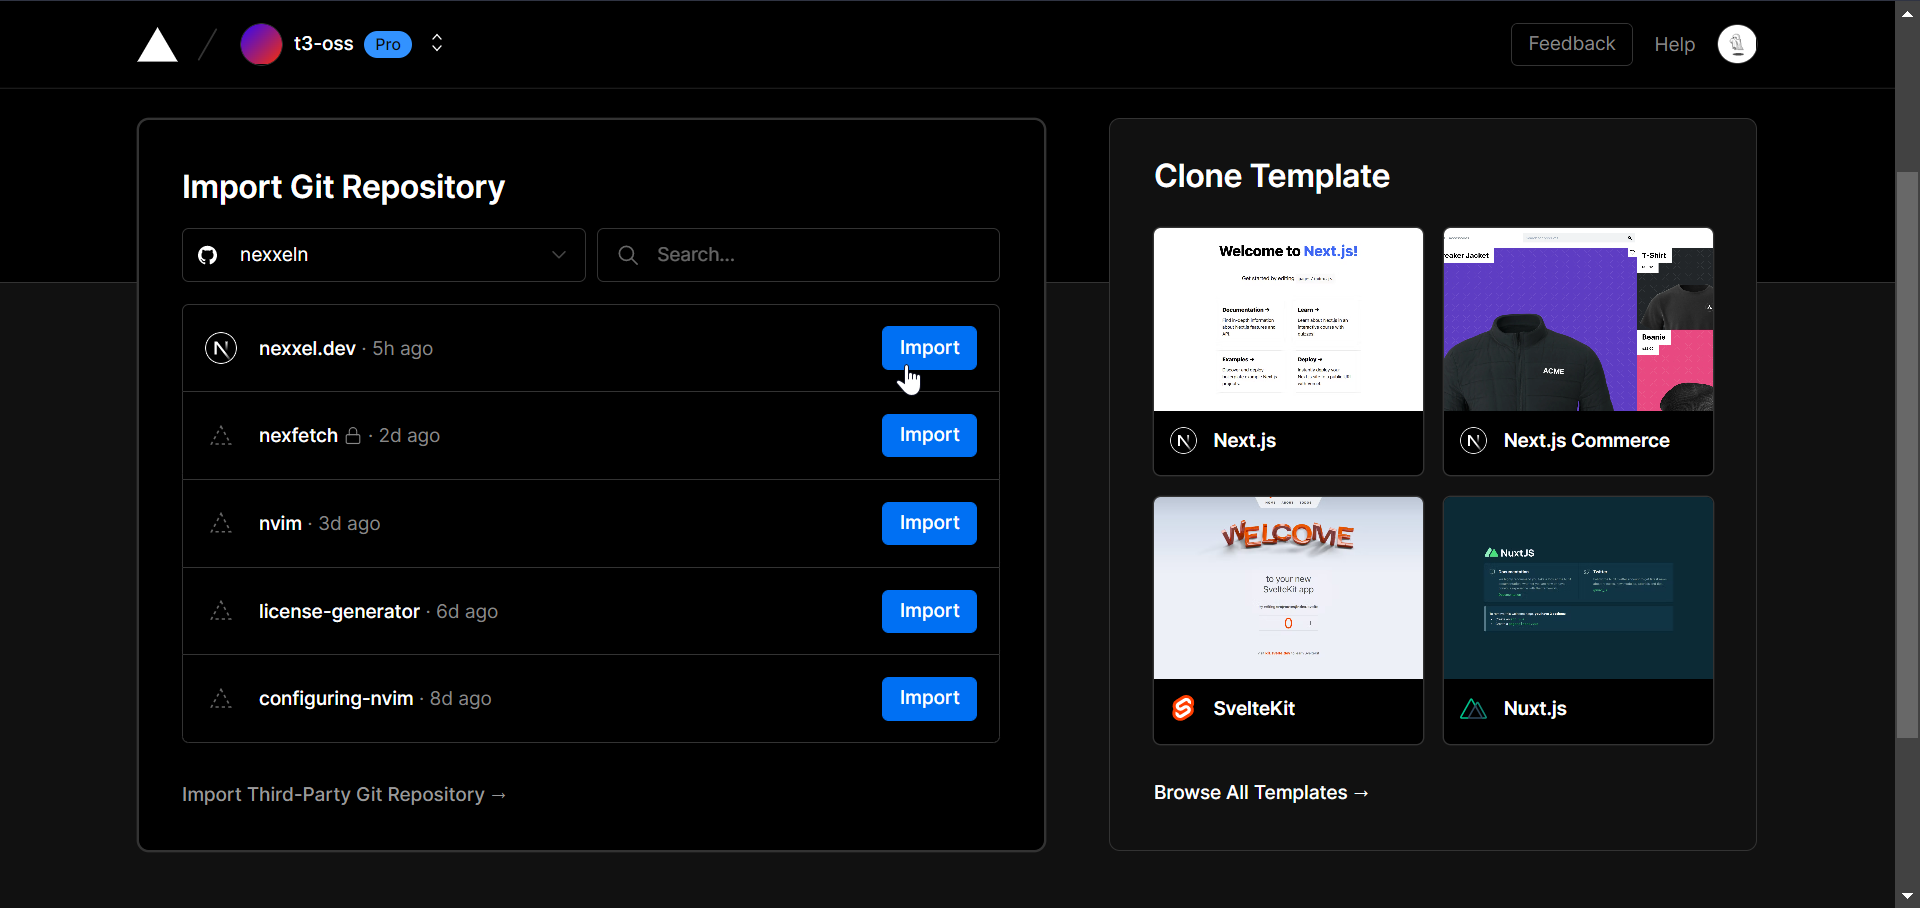
- قم بإستيراد GitHub repository
- إضف environment variables.
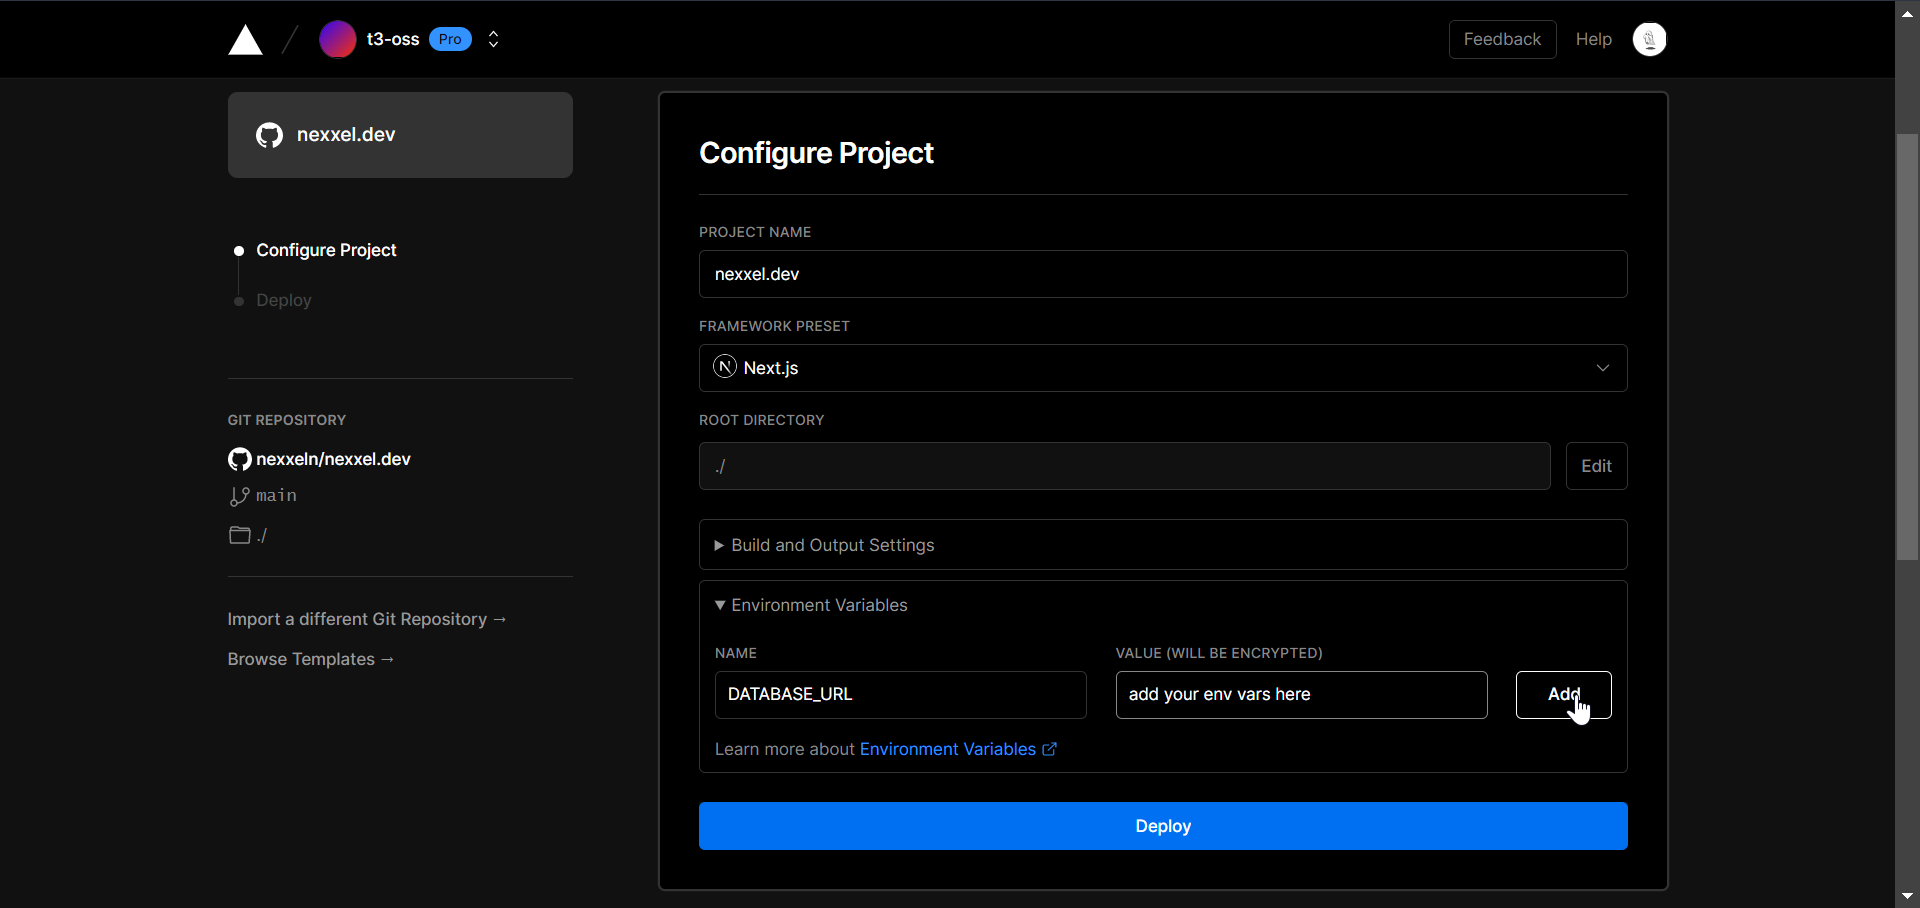
- إضغط علي Deploy الان مع كل مرة تعمل فيها Push ستقوم vercel بإعادة بناء المشوع تلقائيا
إستخدام Vercel CLI
حتي تنشر مشروع عن طريق CLI install the Vercel CLI globally↗.
npm i -g vercelشَغل أمر vercel↗
vercelلا تنس اضافة environment variables مثل --env DATABASE_URL=YOUR_DATABASE_URL_HERE، أضف عَلم --yes لتخطي كل الاسئلة
vercel --env DATABASE_URL=YOUR_DATABASE_URL_HERE --yesبطبيعة الامر فإن النشر سيطون علي preview branch لكن إذا ما كُنت تريد النشر الي production فقُم بإضافة علم --prod
vercel --prod