Netlify
Netlify is an alternative deployment provider in a similar vein to Vercel. See ajcwebdev/ct3a-netlify↗ for an example repo based on this doc.
Why Host on Netlify
Conventional wisdom says Vercel has superior Next.js support because Vercel develops Next.js. They have a vested interest in ensuring the platform is tuned for optimal performance and DX with Next.js. For the majority of use cases, this will be true and it won’t make sense to deviate from the standard path.
There’s also a common sentiment that many Next.js features are only supported on Vercel. While it’s true that new Next.js features will be tested and supported on Vercel at the time of release by default, it’s also the case that other providers like Netlify will quickly implement and release support↗ for stable Next.js features↗.
There are relative pros and cons for all deployment providers since no single host can have the best support for all use cases. For example, Netlify built their own custom Next.js runtime↗ for Netlify’s Edge Functions (which run on Deno Deploy) and maintain unique middleware to access and modify HTTP responses↗.
To track the status of non-stable Next 13 features see Using the Next 13
app directory on
Netlify↗.
Project Configuration
There are numerous ways to configure your build instructions including directly through the Netlify CLI or Netlify dashboard. While not required, it is advisable to create and include a netlify.toml↗ file. This ensures that forked and cloned versions of the project will be easier to reproducibly deploy.
[build]
  command = "next build"
  publish = ".next"
Using the Netlify Dashboard
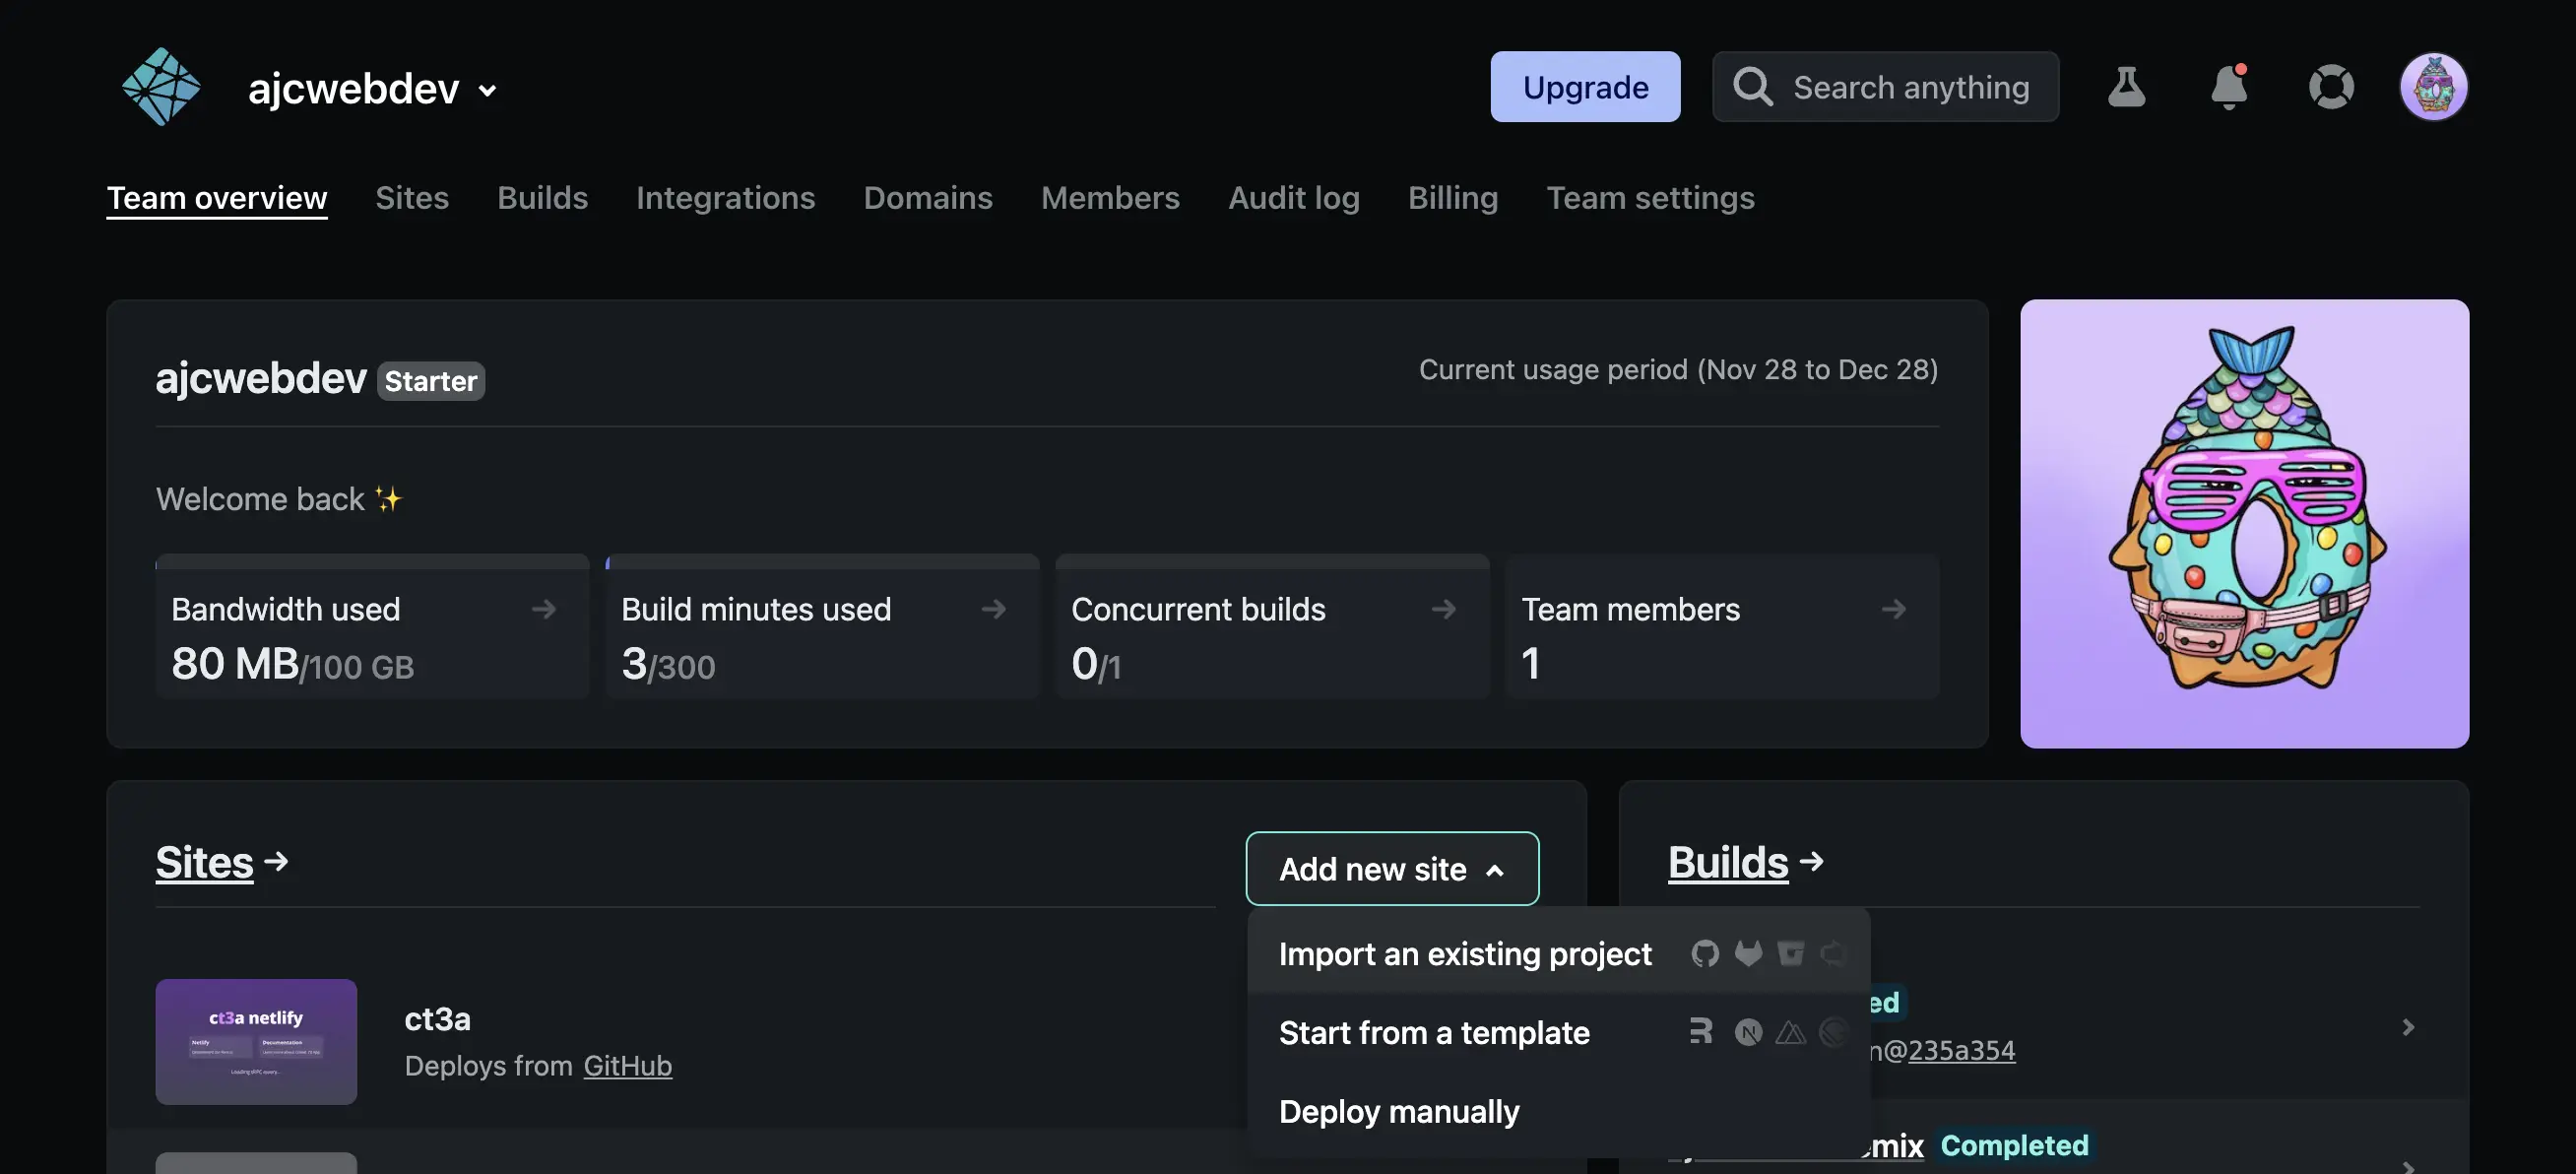
- Push your code to a GitHub repository and sign up for Netlify↗. After you’ve created an account, click on Add new site and then Import an existing project.
- Connect your Git provider.
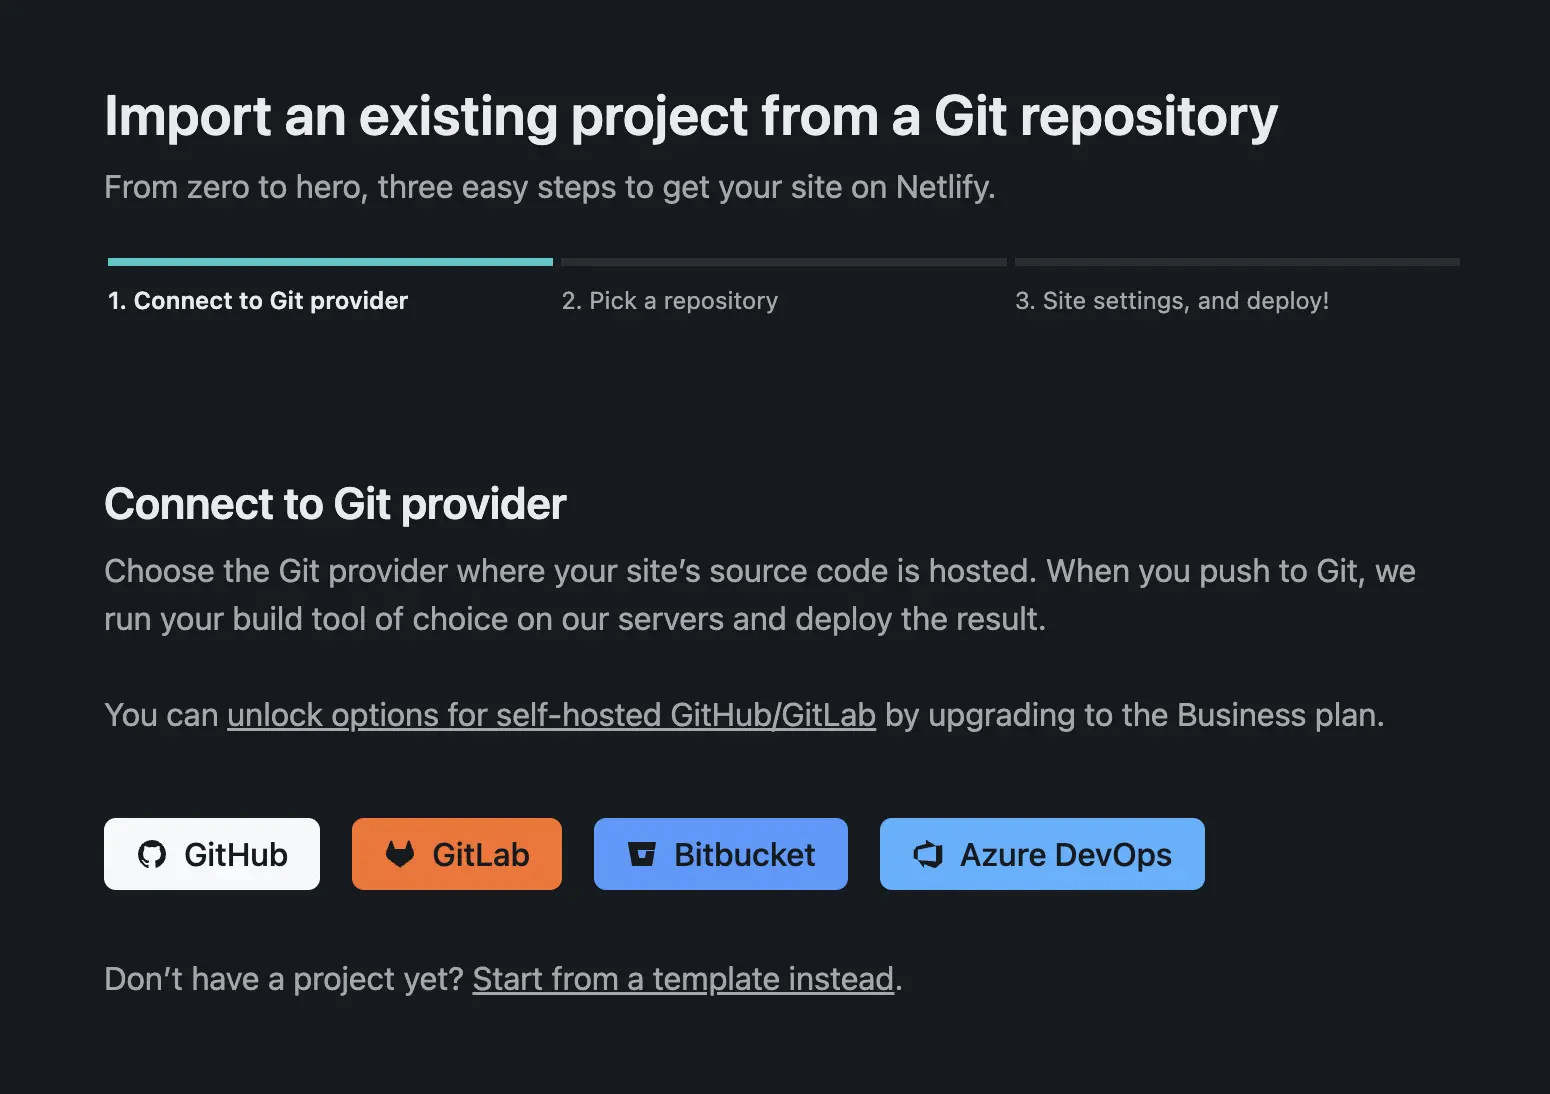
- Select your project’s repository.

- Netlify will detect if you have a
netlify.tomlfile and automatically configure your build command and publish directory.

- Click Show advanced and then New variable to add your environment variables.
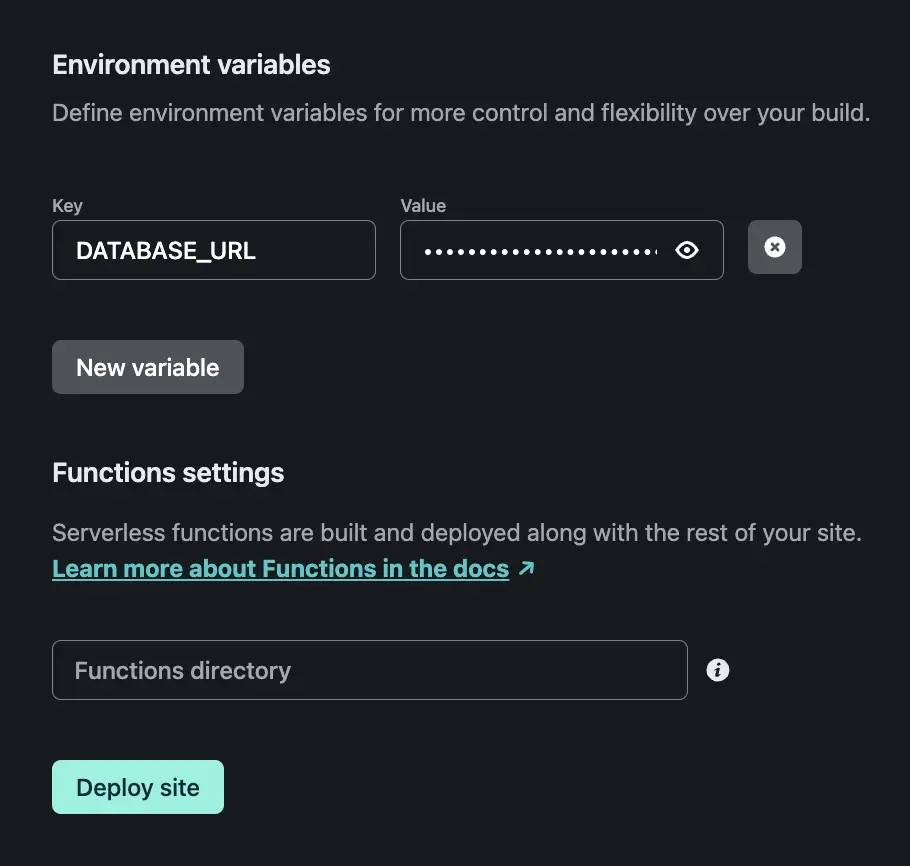
- Click Deploy site, wait for the build to complete, and view your new site.
Using the Netlify CLI
To deploy from the command line you must first push your project to a GitHub repo and install the Netlify CLI↗. You can install netlify-cli as a project dependency or install it globally on your machine with the following command:
npm i -g netlify-cliTo test your project locally, run the ntl dev↗ command and open localhost:8888↗ to view your locally running Netlify app:
ntl devRun the ntl init↗ command to configure your project:
ntl initImport your project’s environment variables from your .env file with ntl env:import↗:
ntl env:import .envDeploy your project with ntl deploy↗. You’ll need to pass the --build flag to run the build command before deployment and the --prod flag to deploy to your site’s main URL:
ntl deploy --prod --buildTo view a running example on Netlify, visit ct3a.netlify.app↗.