Vercel
We recommend deploying your app to Vercel↗. It makes it super easy to deploy Next.js apps.
Project Configuration
Vercel will likely configure your build command and publish the directory automatically. However, you can also specify this information along with other configurations by creating a file called vercel.json↗ and including the following commands. This is not required for most projects.
{
  "buildCommand": "npm run build",
  "devCommand": "npm run dev",
  "installCommand": "npm install"
}
Using the Vercel Dashboard
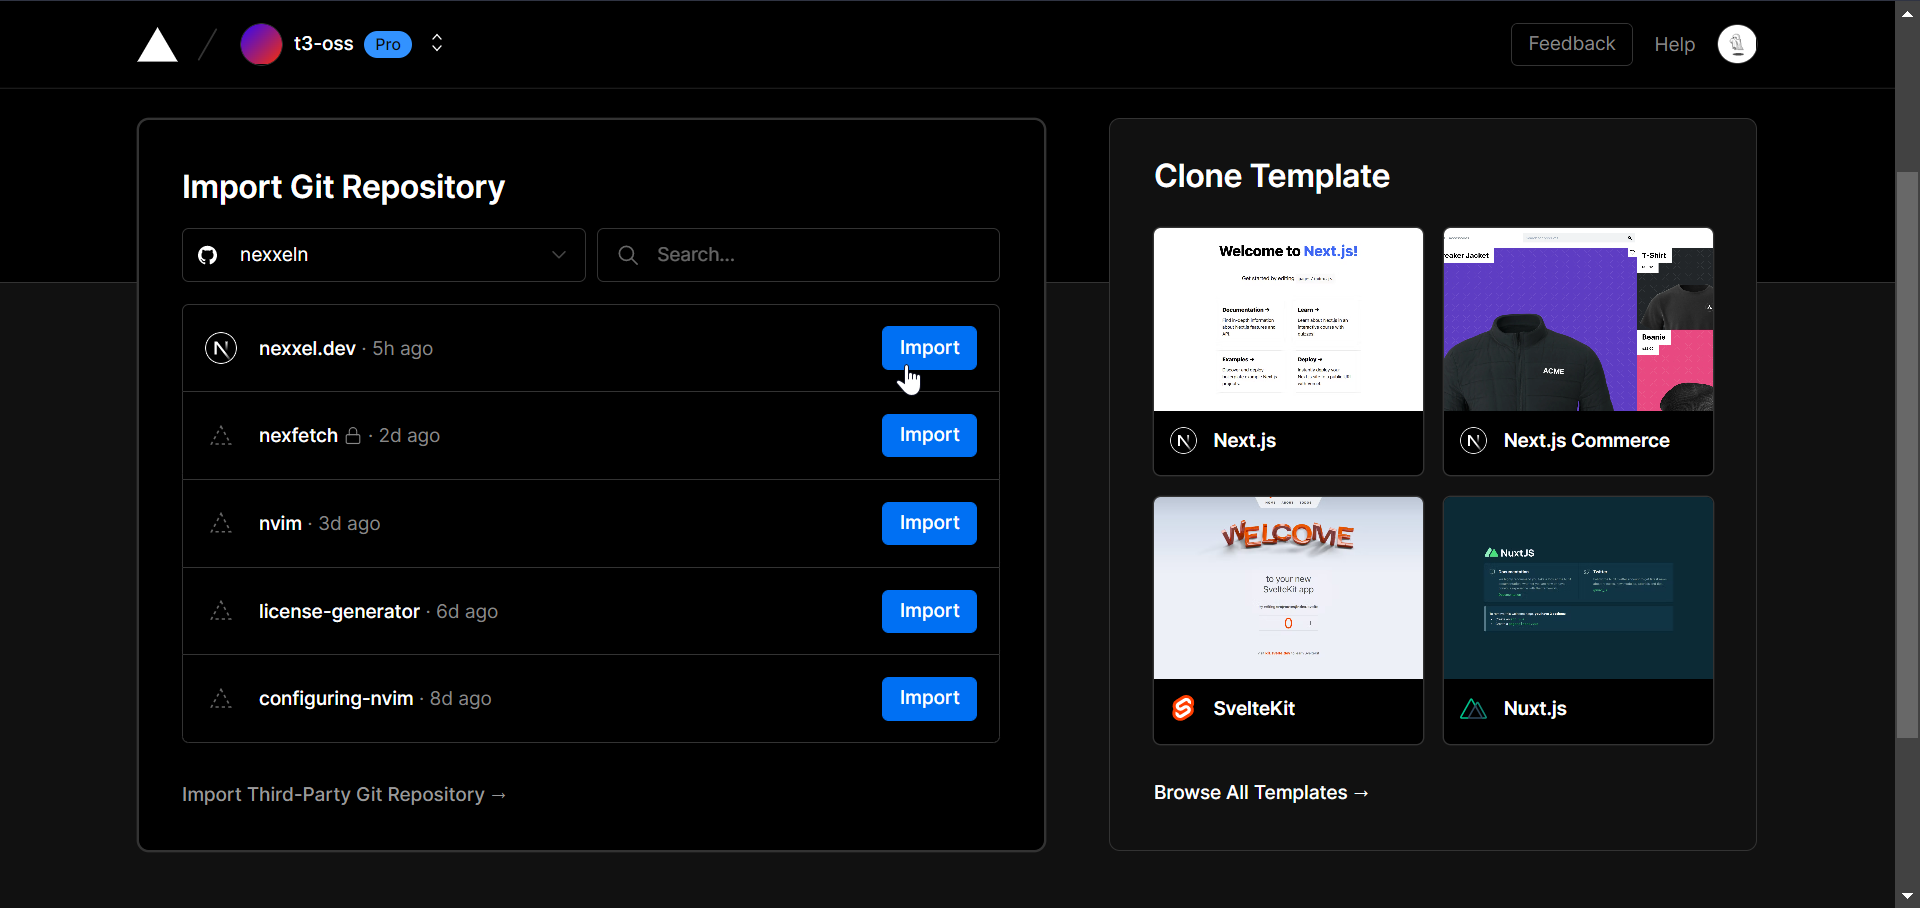
- After pushing your code to a GitHub repository, sign up for Vercel↗ with GitHub and click on Add New Project.
- Import the GitHub repository with your project.
- Add your environment variables.
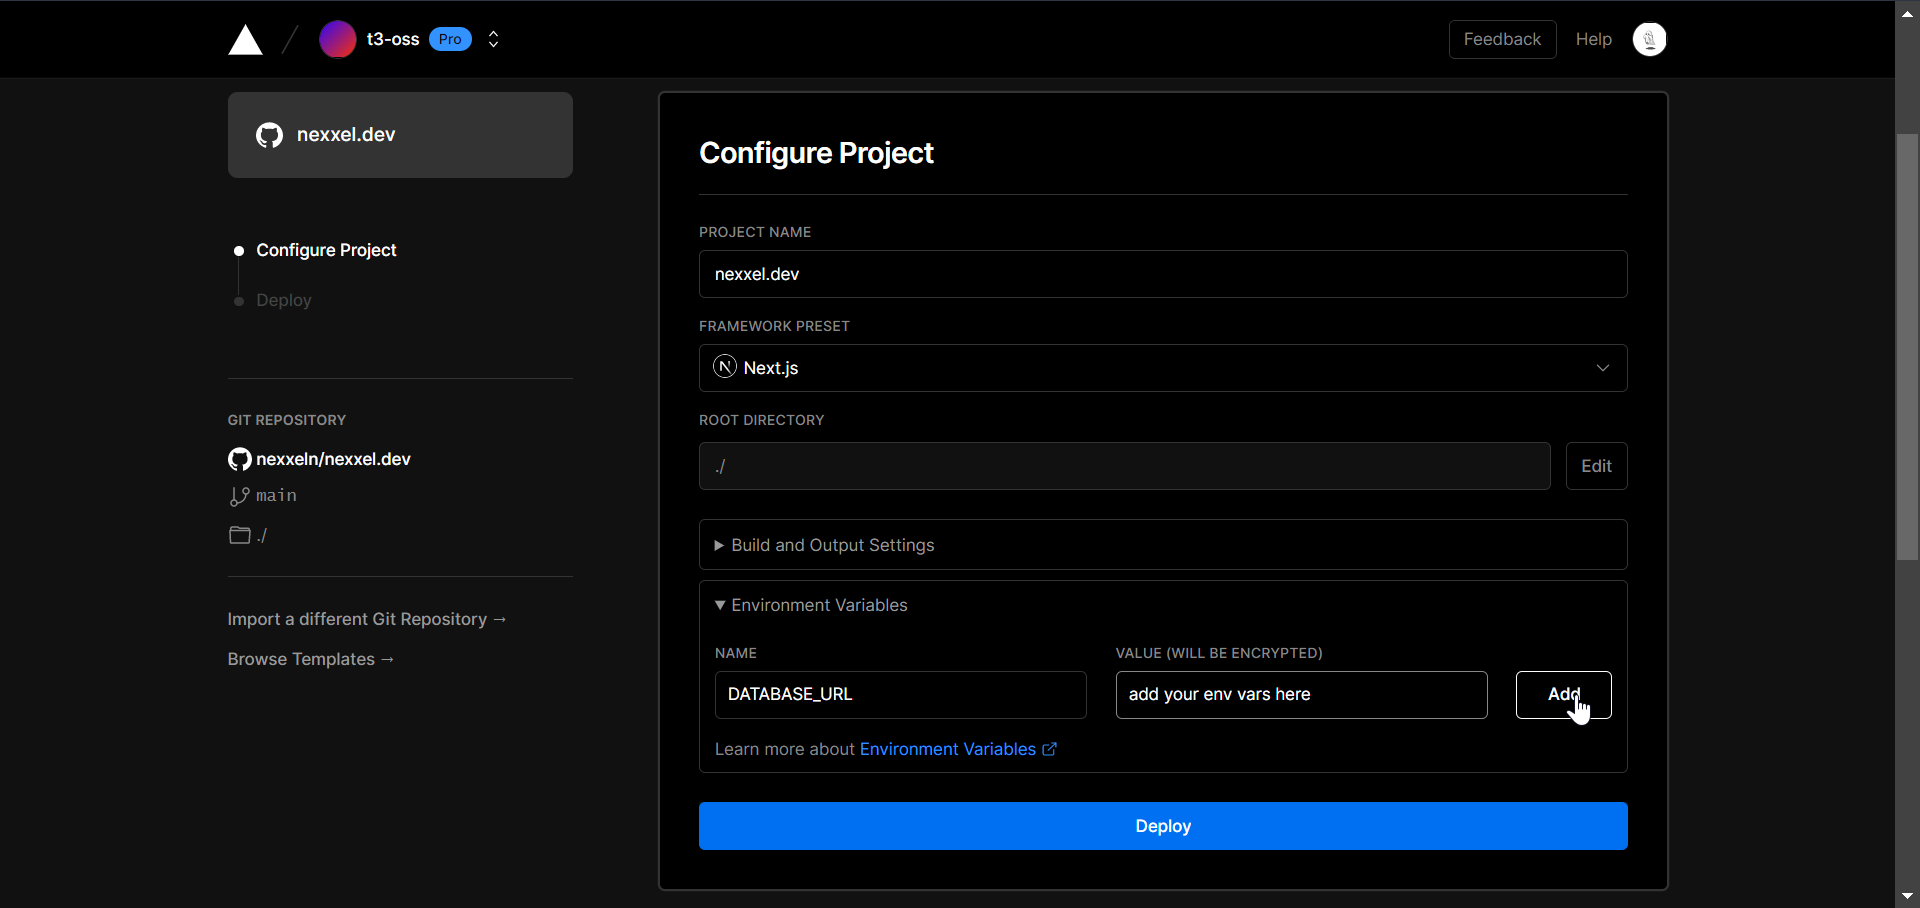
- Click Deploy. Now whenever you push a change to your repository, Vercel will automatically redeploy your app!
Using the Vercel CLI
To deploy from the command line you must first install the Vercel CLI globally↗.
npm i -g vercelRun the vercel↗ command to deploy your project.
vercelInclude --env DATABASE_URL=YOUR_DATABASE_URL_HERE for environment variables like the database connection string. Use --yes if you want to skip the deployment questions and give the default answer for each.
vercel --env DATABASE_URL=YOUR_DATABASE_URL_HERE --yesAfter the first deployment, this command will deploy to a preview branch. You will need to include --prod to push changes directly to the live site for future deployments.
vercel --prod